
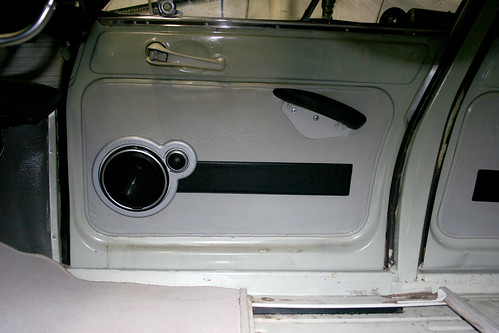
Since the original door cards in the Ami had already been cut for speakers and i like music...
i decided i needed to install an absurd system.
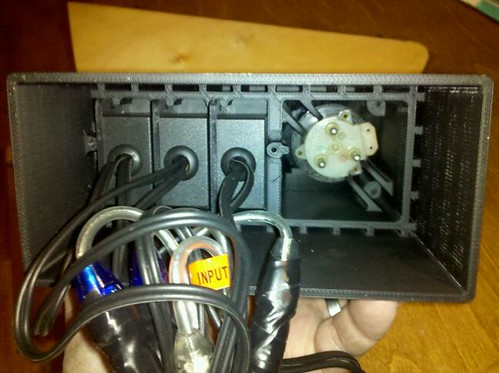
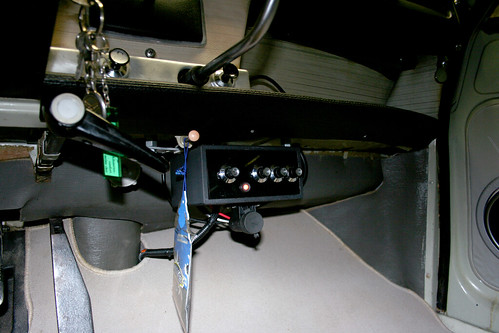
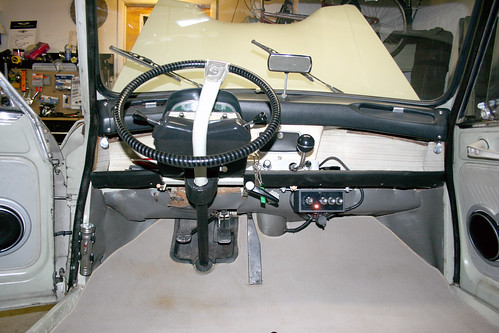
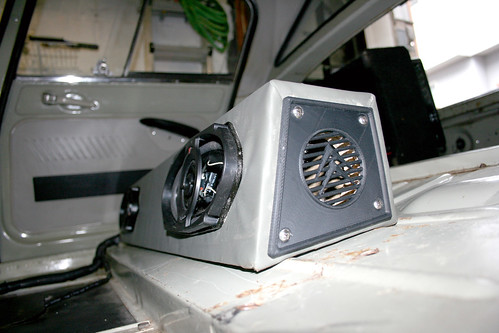
I custom built the "head unit" to run and charge an ipod, there is a standard ipod cable wired to the car battery with rca line outs. the line outs are split to 3 line level control knobs to control my front and rear channels along with a subwoofer. all five speakers are coming from a single 5 channel kenwood amp with crossover control. My front speakers are a set of 5.5" kenwood components with an in-line high pass filter. In the rear is a pair of kenwood 3 way 4x10" speakers and in the trunk is a pioneer 10" subwoofer in an enclosed box with the amp and a capacitor mounted on it. By using this speaker configuration and amp along with three separate line level controls i can simulate having basic audio controls. I can adjust the crossovers to send more highs to the front and all the lows to the sub so i can manipulate the bass and treble controls by adjusting the relative volume of those speakers i get the same fader control to the front and rear channels but what i do not have is a balance adjustment. That's not all that important since the cabin is so narrow. Between these basic controls and the built in eq settings on the ipod i think i am getting very decent audio quality.
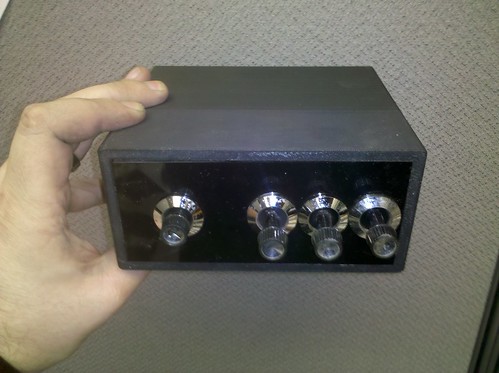
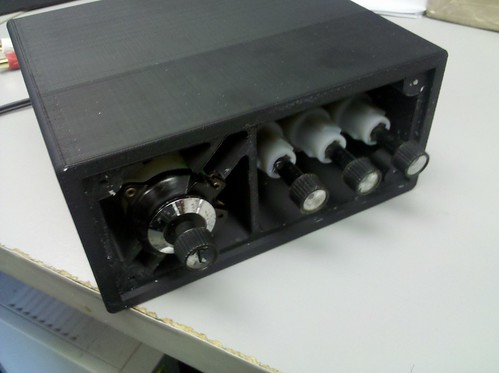
I enclosed the line level controls in a plastic box that i designed and built in solidworks and then printed the part on a dimension 3-d printer in black ABS. I adapted the controls to run correct ami6 knobs along with a proper on/off switch and a later model oil pressure warning light to indicate power on.

driver's door
passenger door
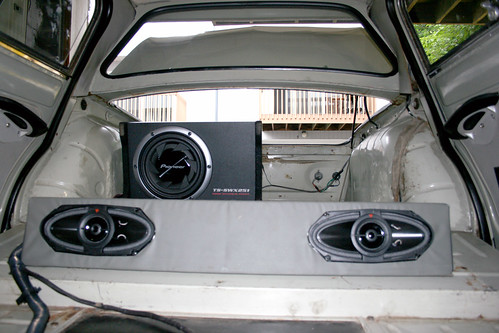
view of the rear speaker box and subwoofer
chevron details on the ports.
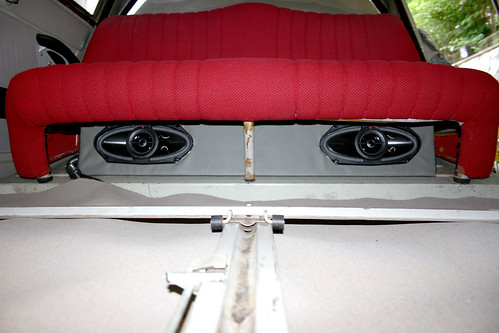
under the back seat
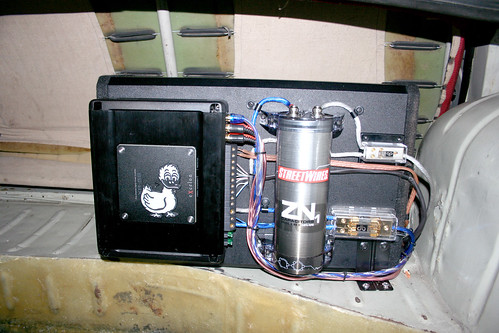
in the trunk
I am very happy with the project it looks and sounds very clean...it's also very loud.
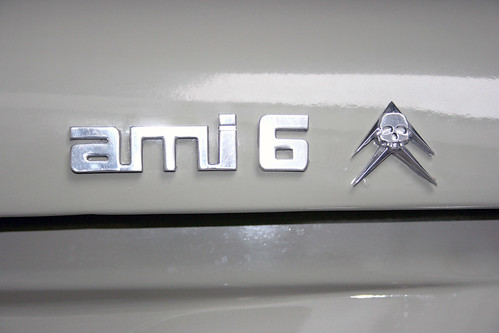
the new emblem installed
No comments:
Post a Comment